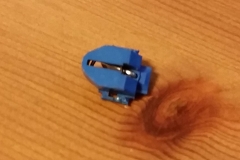
My dad’s old record player had been out of use at my mom’s house for years because of a bad power button. He had good taste in AV equipment and I didn’t like seeing it sit unused. I offered to trade my mom a working but nothing special Technics SL-BD2 for a broken Phase Linear turntable.
I started testing things out and found a problem very quickly. The power button was sticky at best, and never seemed to click and move. The action should have been similar to a click top pen, but there was hardly any movement.
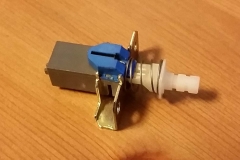
Getting to the switch was a pain. I had to take the turntable completely apart to get into the switch. Outwardly there did not seem to be anything wrong with it, but clicking it directly I felt the same resistance as when it was installed. It wasn’t the button cap causing the problem, there was definitely an issue with the switch itself.
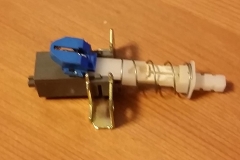
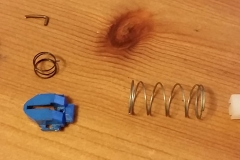
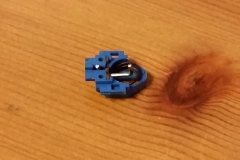
The spring mechanism is held in place with a couple of tabs bent over a plastic cap. I bent those tabs out of the way and got a look at the internals of the switch. There was a small U-shaped metal rod that followed a track in the plastic plunger. This is what makes the switch hold both the in and out positions when pressed.
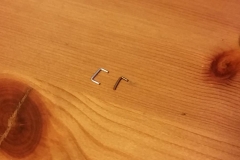
The small U-shaped rod was no longer U-shaped, though. One of the legs had broken off. The sheared metal at the corner was much rougher than the clean cut end of the other arm, it was clear that the second arm of the U had broken off at some point.
Having identified the problem with the switch I thought about what could be done to fix it. I could look for another switch, but finding something that would work with the original mounting holes and button facade would be difficult. I had learned that lesson trying to source parts for a friend’s Omnichord.
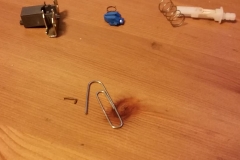
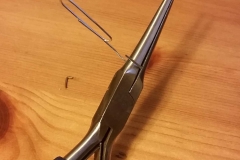
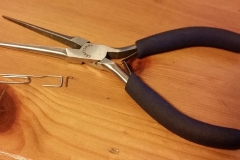
Instead I decided to fix the switch I had. The broken rod was almost exactly the same diameter as a paper clip I had in my drawer. Growing up I was always partial to paper clips as a material, so I was happy to unfold this one and start forming the new part. The shaping was straightforward, and only made easier by my precision plier set. The long needle-nose pliers were the perfect width to form the U.
The switch went back together without much fuss. Fortunately the springs are pretty low tension and easy to work with. I didn’t have to chase down any tiny springs flung across the room. Before I bent the tabs back in place to hold everything together I tested the click mechanism while pinching everything together. The switch was now moving smoothly and locking at each end.
I bent the tabs back down to hold the switch together and reassembled the turntable. Once plugged in, the switch did exactly what it was supposed to. The turntable now had reliable power.
Getting it playing right would still take some tuning, but that’ll be another post.


