Motivation
I’ve been more and more interested in doing some projects with clothing and learning to sew. One thing I had always had in the back of my head was waxing a cotton garment to waterproof it. I didn’t have any jackets that I wanted to put up for the experiment, but hadn’t been able to find something to work on.
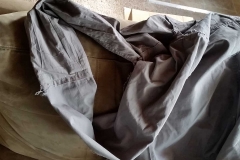
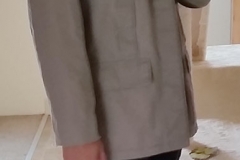
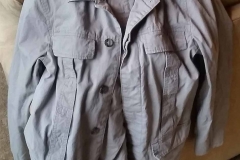
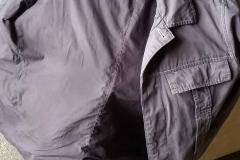
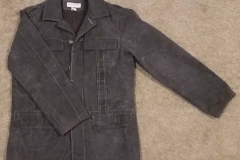
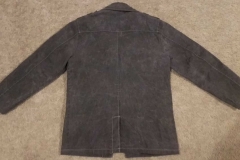
Then I found the perfect cotton safari type jacket in a Salvation Army in downtown Portland. It fit perfectly in the shoulders and chest, but was a little long in the sleeves. For $8 it was the perfect start to my project.
Changing the Fit
Step one in this project is washing the jacket. Not only does this put my mind at ease about who may have owned this jacket previously, or what has happened to it on it’s way to the rack, but it also makes sure the cotton fibers are as uniform as possible. The jacket came out of the wash looking clean and fresh.
I knew I wanted to do any alterations to the jacket before I waxed it. Running the needle through the waxed fabric would be 10 times harder. The only real change I wanted to make was to shorten the sleeves by about an inch.
I had never attempted any sort of project like this and only had a basic idea of clothing construction. I watched some videos and read some tutorials to get the idea, but none were quite a walk through for the change I wanted to make. Most were geared more towards suit jackets.
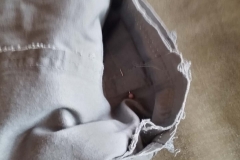
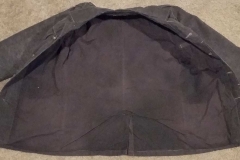
The jacket was fully lined, so it wasn’t as simply as rolling up the sleeve and sewing in a new seam like you would if you were hemming pants. Instead I would need to turn the jacket inside out with respect to the lining. All of the seams are sandwiched between the lining and the exterior of the jacket, and I need them exposed to work on.
There is only one section of the seam that is sewn from the outside. This is the whole the jacket is pulled through as a final step when making the jacket. I looked around the seams of the jacket and found the externally accessible seam in the split at the tail of the jacket. I seam ripped it and pulled the jacket through.
I found a ridiculous amount of lint inside and did my best to clean it, then started looking at the design of the jacket now that I could see how it was put together. The lining met the exterior of the jacket on the inside of the sleeves, so the lining ended about an inch before the end of the sleeve. I didn’t know quite how to measure or mark any of the changes, so I flipped the jacket right-side out and pinned the sleeves up to where I liked them.
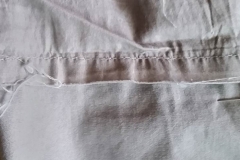
After carefully turning the jacket inside out again, without getting pricked by the pins, I was able to pin the new seam between the sleeve lining and the external fabric. I sewed the seams on both sleeves and flipped the jacked right-side out. Both sleeves fell right where I wanted them too.
I had planned to flip the jacket inside out and cut some of the excess fabric, but after trying it on I couldn’t even tell there had been a change and decided to leave the excess in case I wanted to let the sleeves out later. I’m glad I did, but I’ll get to that later in the post.
Changing the Color
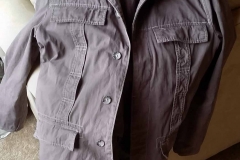
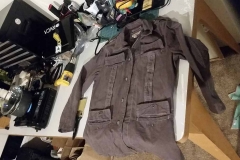
The jacket now fit well, but didn’t really seem like something I would wear too often. I decided to try to dye the jacket brown. I used RitDye that I picked up from a craft store. I followed the directions and mixed up a bucket of dye in the kitchen one night.
This was such a stressful part of the project. I had about 5 gallons of fabric die on the small isle of linoleum in a sea of tan carpet. If the boiling water softened the plastic bucket too much I could have had a real mess on my hands. Fortunately everything held and my security deposit is safe, for now.
Changing the Finish
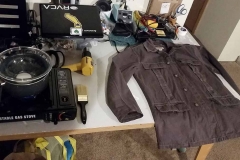
Now that the alterations were done I set about waxing the jacket. I had been reading guides on this for a while, but this would be my first attempt at executing it. I made my own 50/50 mix of beeswax and paraffin wax using a double boiler to combine the two and a cupcake pan to mold small pucks.
I had read about a couple methods to do this. Some advocated just rubbing the wax puck onto the garment, then melting it in. Some suggested melting the wax and painting it on. Some suggested following with a heat gun to help keep the wax moving. I went with melted wax and the heat gun hoping to get a more water resistant treatment.
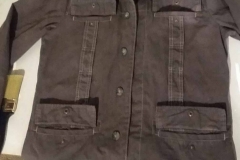
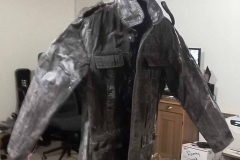
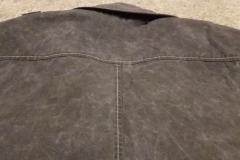
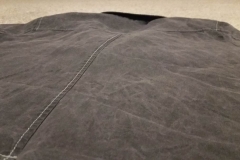
I went way overboard with the wax, though. Following with the heat gun meant the wax melted in almost immediately and keeping an even coating was very difficult. I started to get the hang of it, but not soon enough. I had a very thick and somewhat inconsistent coating on the jacket. You could see the wax in the fabric turn white as the fabric bent. I had used so much wax that the fabric was stiff and some of the wax had soaked through to the lining.
To try to lighten the coating I put the jacket in an old bedsheet and ran it through the dryer on medium. I had read a lot of concern about it catching fire, so I only ran short bursts on medium heat and kept a close eye on it. I ran it through several cycles and it seemed to lighten up a bit, though it’s still very stiff.
Conclusion
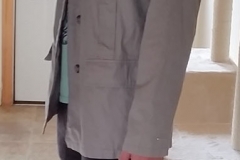
I honestly haven’t warn this jacket much, but it is very warm. The wax makes the jack completely sealed, so it really holds the heat in. After all the work on the jacket, the sleeves feel a little too short. A part of me wished I had just left them as they were because they seemed to shrink a little more with all the waxing.
At this point I’m not sure if I should just try to wear it until the wax is broken in a bit or if I should try to wash the wax out and start fresh. I’ll need to look into the second option before trying it, so for now I’ll just try to beat the jacket into submission.


