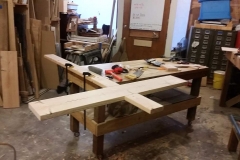
Content with the CAD model I had drawn up I set to work on actually making it. Step one was to find the materials. I was hoping to make this out of red cedar, like I used on my guitar rack, but Lowe’s didn’t carry any 2×12 red cedar. The only thing available in 2×12 was green douglas fir.
Fortunately, this is also about the cheapest option in the store. I picked out an 8 foot length of 2×12 and 2×6, doing my best to find consistent grain and minimal knots, and headed to the shop.
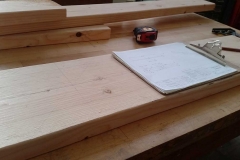
The first step is getting an overall picture of how much wood would need to be trimmed off. I only had about 8″ of extra length on the 2×6, so I didn’t have much choice laying out the hole patterns. However, I did still have some options with orientation and used the opportunity to cut off the worst of the ends.
The 2×12 had a bit for flexibilty, but I still ended up sticking close to one of the existing ends that kept all of the knots away from any areas that required drilling or carving.
I measured out the intersection of the two boards and clamped them into position. While clamped, I marked the edges of each board to mark the sections that would need to be removed.
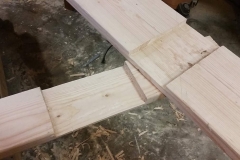
To expedited the carving, I first went to town on the board with a circular saw. I set the cut depth to just under half the thickness of the 2×6 and made several cuts across, cutting straight and at roughly 30º angles. Once the area was sufficiently scarred I went in with a chisel and chipped out what was left in large chunks. I was then able to practice my chisel control and clean up the faces of the cut.
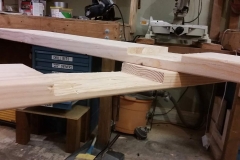
I repeated the process on the 2×12 and almost immediately had a nice snug fit. Unfortunately, I had not cut deep enough on the first go and and had to go over it again. I initially planned to score the area more with the circular saw, but that quickly proved useless as I no longer had a flat surface to measure cut depth. All work from here on would be with the chisel.
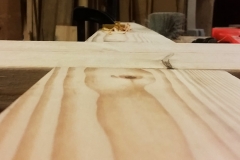
The lap joint ended up nice and snug and allowed almost no rotation. The faces were nearly perfectly flat. The whole rack should be impressively sturdy.
I finished marking out the center lines and found the center point for the lap joint. I then marked the location for the four connecting screws that will reinforce the lap joint and secure the two pieces of wood together. Using a screw in the center I drew a circle using a piece of string to roughly position the placement.
Next up was laying out the holes for the actual bike rack attachments. Holes were drilled to mount up four of these racks nice and easy.
Here’s a timelapse of almost all of build process, conveniently condense into about 3 minutes.
With the structure solid and dry fitting complete it’s on to finishing.


